
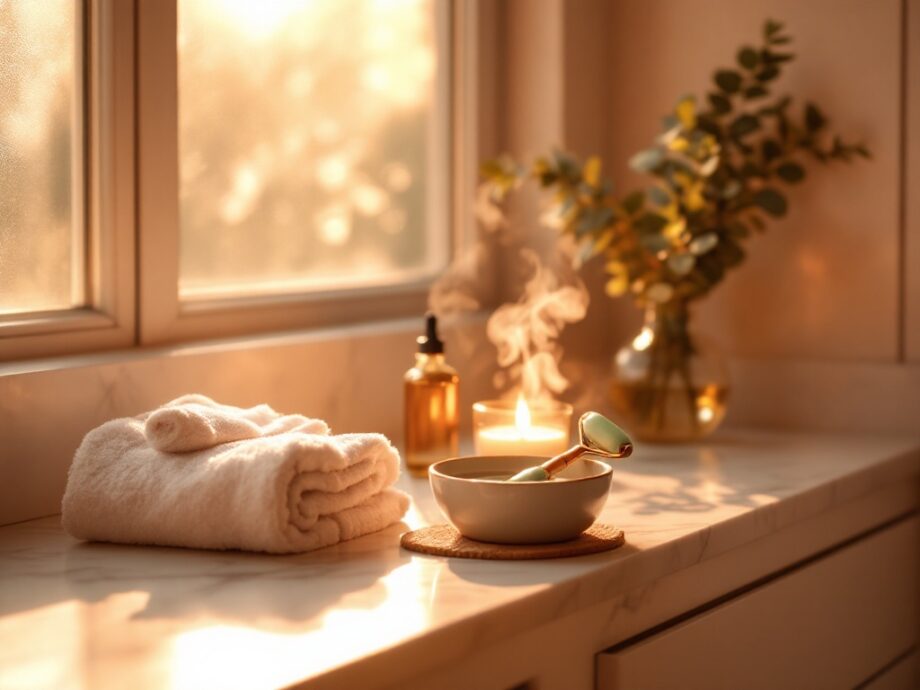
7 Steps to an At Home Spa Routine for Glowing Skin You Can Do Tonight
An at home spa routine for glowing skin sounds luxurious, but here’s what nobody tells you: it’s actually one of the most practical things you can do for yourself. Not because you need to escape your life, but because your skin genuinely responds to intentional care. And if you’re noticing changes in your skin lately, whether that’s dullness, uneven texture, or just that general “tired” look that has nothing to do with sleep, a thoughtful evening routine can make a real difference.
The science here is straightforward. Your skin repairs itself most actively at night while you sleep, according to Cleveland Clinic. Cell turnover increases, blood flow to the skin rises, and products you apply have more time to absorb without interference from makeup, sunscreen, or environmental stressors. A spa routine isn’t about pampering for pampering’s sake. It’s about giving your skin the conditions it needs to do what it’s already trying to do.
Tonight, I want to walk you through seven steps that work together to support radiant, healthy-looking skin. No special equipment required, no three-hour time commitment, and absolutely no products that promise to transform you into someone else. Just honest, evidence-based steps you can adapt to your own skin and schedule.
Step 1: Start Your At Home Spa Routine for Glowing Skin with Double Cleansing
Before anything else can work, your skin needs to be genuinely clean. Not stripped, not squeaky, just free of the day’s buildup. This is where double cleansing earns its reputation. The method originated in Korean skincare and has solid reasoning behind it: oil attracts oil, and water-based cleansers handle everything else.
Start with an oil-based cleanser or micellar water to dissolve sunscreen, makeup, and the natural sebum your skin produced throughout the day. Massage it gently across dry skin for about 60 seconds. Then follow with a gentle water-based cleanser suited to your skin type. This removes any remaining residue and prepares your skin to actually absorb what comes next.
If you skip this step or rush through it, you’re essentially applying your serums and treatments on top of a barrier. That’s like trying to water a plant through plastic wrap. The American Academy of Dermatology recommends washing your face twice daily, and being thorough about it matters more than being aggressive.
Step 2: Gentle Exfoliation Sets the Stage for Radiance
Dull skin is often just skin with too much buildup. Dead cells accumulate on the surface, making your complexion look flat and preventing products from penetrating effectively. Gentle exfoliation once or twice a week can help reveal fresher skin underneath.
You have two main options here. Physical exfoliants use small particles to manually buff away dead cells. Chemical exfoliants, like AHAs (glycolic acid, lactic acid) or BHAs (salicylic acid), dissolve the bonds holding dead cells together. Both work, but chemical exfoliants tend to be more even and less likely to cause irritation if you have sensitive skin.
The key word is gentle. Over-exfoliating damages your skin barrier, leading to redness, sensitivity, and ironically, more dullness. If you’re new to exfoliation, start once a week and see how your skin responds. Your evening glow routine at home should support your skin, not stress it out.
Step 3: Steam Opens Pathways in Your At Home Spa Routine for Glowing Skin
Steaming your face is one of those steps that feels indulgent but serves a real purpose. Warm steam helps soften the outer layer of skin, loosens debris in pores, and increases circulation. The result is skin that’s more receptive to treatment and has that natural flush that reads as healthy.
You don’t need a fancy facial steamer. Fill a bowl with hot (not boiling) water, drape a towel over your head, and hold your face about 10 inches above the water for 5 to 10 minutes. Adding a few drops of essential oil like lavender or chamomile can enhance the relaxation aspect, though it’s not necessary for skin benefits.
One caution: if you have rosacea, very sensitive skin, or active inflammatory conditions, skip or limit steaming. Heat can aggravate these concerns. For most people, though, this simple step makes the rest of your spa facial routine for glowing skin noticeably more effective.
Step 4: Apply a Targeted Face Mask That Matches Your Skin’s Needs
Masks are where personalization matters most. A mask that works beautifully for your friend might do nothing for you, and that’s fine. The trick is matching the formula to what your skin actually needs right now.
Here’s a quick guide:
- For dullness and uneven texture: Look for masks with vitamin C, niacinamide, or gentle fruit enzymes. These help brighten and smooth.
- For dryness: Hydrating masks with hyaluronic acid, aloe, or ceramides restore moisture and support your skin barrier.
- For oiliness or congestion: Clay-based masks (kaolin or bentonite) absorb excess oil without stripping.
- For sensitivity or redness: Soothing ingredients like centella asiatica, oat extract, or green tea calm irritation.
Leave your mask on for the time indicated on the packaging. Longer isn’t better, especially with clay masks that can dry out your skin if left too long. If you’re short on time, check out The 10 Minute Skincare Routine for Busy Women That Actually Works on the Gloressa blog for streamlined alternatives.
Step 5: Layering Serums in Your At Home Spa Routine for Glowing Skin
Serums deliver concentrated active ingredients directly to your skin. Because they’re formulated with smaller molecules than moisturizers, they penetrate more deeply. This is where you can really target specific concerns.
For glowing skin, vitamin C serums are a well-researched option. Healthline notes that vitamin C is an antioxidant that can help brighten skin and even out tone over time. Niacinamide is another ingredient worth knowing. It supports barrier function, reduces the appearance of pores, and improves overall texture.
If you’re learning how to get glowing skin at home, layering matters. Apply thinnest to thickest: watery serums first, then oil-based ones. Wait about 30 seconds between layers to let each product absorb. And remember, consistency over time beats occasional intensity. Using serums regularly yields better results than using them heavily once in a while.
Step 6: Massage Techniques That Boost Circulation and Absorption
Facial massage is underrated. Beyond feeling wonderful, it increases blood flow, helps lymphatic drainage, and supports product absorption. You don’t need to be a professional. A few simple techniques make a meaningful difference.
Use gentle upward and outward strokes. Start at your chin and work up toward your ears. Move to your nose and stroke outward across your cheeks. On your forehead, use upward sweeping motions. Spend about 3 to 5 minutes on this step, applying light to medium pressure.
If you have a gua sha tool or jade roller, this is a great time to use it. These tools can enhance circulation and feel especially soothing after a mask. At Gloressa, we believe a relaxing skincare routine for radiance should feel as good as the results look. The massage step is often where that happens.
Step 7: Seal Everything in Your At Home Spa Routine for Glowing Skin
Your final step locks in all the work you’ve done. A good moisturizer creates a protective layer that prevents water loss and keeps active ingredients where they belong: in your skin.
Choose a moisturizer appropriate for your skin type. Lighter gel formulas work well for oily or combination skin. Richer creams suit dry or mature skin. Look for ingredients like ceramides, peptides, and squalane that support skin barrier health.
If you want extra nourishment, consider adding a few drops of facial oil on top of your moisturizer. Oils like rosehip, marula, or jojoba can add another layer of hydration without feeling heavy. The key is listening to your skin. Some nights it needs more, some nights less.
Don’t forget your neck and décolletage. These areas show changes in skin quality just as much as your face but are often neglected. Extend your entire routine downward and your future self will thank you.
Frequently Asked Questions About At Home Spa Routine For Glowing Skin
How often should I do an at home spa routine for glowing skin?
Once a week is ideal for a full spa routine. This gives your skin regular support without overdoing active treatments like exfoliation or masks. Your daily routine can be simpler, while your weekly spa night provides deeper care.
What’s the best time to do an at home spa routine for glowing skin?
Evening works best because your skin naturally enters repair mode while you sleep. Products have all night to absorb and work without exposure to sunlight or environmental pollutants. Aim for at least an hour before bed so everything has time to absorb before hitting your pillow.
Can I do a DIY spa night for radiant skin with products from my kitchen?
Some kitchen ingredients can work well, like honey (naturally antibacterial and hydrating) or oatmeal (soothing for irritation). However, DIY masks are harder to preserve and may not have optimal pH levels. Use them occasionally for fun, but quality formulated products will give more consistent results.
What if I only have 20 minutes for a spa facial routine?
Focus on cleansing, one treatment step (either a mask or serum application with massage), and moisturizing. You can still get meaningful benefits from a shorter routine. The most important thing is consistency, so a 20-minute routine you actually do beats a two-hour routine you skip.
Why doesn’t my skin glow even after doing a spa routine?
Glowing skin is influenced by factors beyond topical care, including hydration, sleep quality, nutrition, and stress levels. Give your routine at least four to six weeks of consistent use before judging results. If you’re still not seeing changes, consider whether underlying factors or product choices need adjustment.
Your Evening Starts Now
Building an at home spa routine for glowing skin isn’t about perfection or spending a fortune. It’s about carving out time for yourself and using that time wisely. The seven steps we’ve covered work together because they respect how skin actually functions: clean first, treat second, protect last.
Start with what you have. Add steps as you learn what your skin responds to. At Gloressa, we believe skincare should feel supportive, not overwhelming. If you want to learn more about our approach, read our story. Your skin is already doing remarkable things. Tonight, you’re just giving it a little extra support.
Your glow ritual, guided
Get the free 10-Minute Glow Guide
A simple, printable routine you will actually keep — the exact steps to build a calm, effective skincare ritual in ten minutes a day. No 10-step overwhelm, no confusing ingredient lists. Just the essentials that work.