
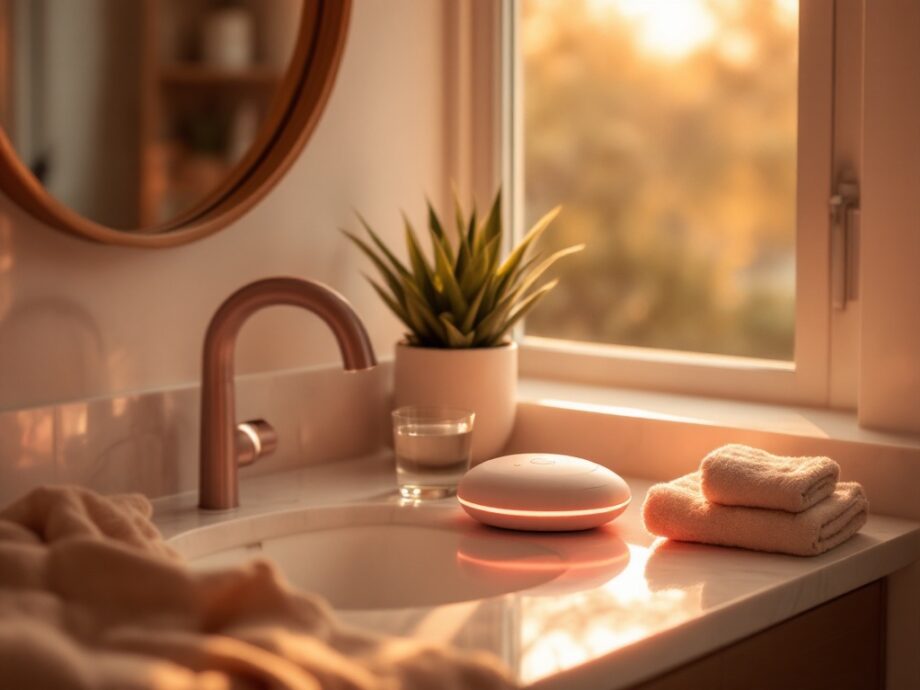
The Best Red Light Therapy Routine for Beginners: 5 Simple Steps to Start Tonight
Finding the best red light therapy routine for beginners can feel overwhelming when you’re scrolling through countless opinions, complicated protocols, and technical specifications that make your eyes glaze over. Here’s the truth: starting a red light therapy practice is much simpler than the internet makes it seem. You don’t need to memorize wavelength charts or invest in equipment that costs more than your rent. You just need a clear starting point and the willingness to be consistent.
Red light therapy has gained serious attention over the past few years, and for good reason. This gentle, non-invasive practice uses specific wavelengths of light to support your skin’s natural functions. Think of it as giving your skin cells a little extra energy to do what they already know how to do. Many women find that adding red light therapy to their existing skincare routine helps their skin look more vibrant, feel softer, and maintain that healthy glow we all appreciate.
Whether you’ve just purchased your first device or you’re still researching your options, this guide walks you through everything you need to know about building a red light therapy practice that fits your life. No complicated science lectures, no pressure. Just practical steps you can take tonight.
What Makes the Best Red Light Therapy Routine for Beginners Different
When you’re just starting out, the best red light therapy routine for beginners looks different from what experienced users might follow. This isn’t about doing less because you’re new. It’s about building a foundation that actually sticks. Too many women buy a device, use it enthusiastically for a week, then forget about it in a drawer. The goal here is creating something sustainable.
A beginner routine focuses on consistency over intensity. You’re training yourself to make this a habit, not chasing dramatic overnight results. Your skin needs time to respond to red light therapy, and your schedule needs time to accommodate this new practice. Starting with shorter, more manageable sessions means you’re more likely to actually do them.
The other key difference is simplicity. Advanced routines might involve multiple devices, varying distances, and complex timing protocols. But when you’re learning, simple works best. According to the American Academy of Dermatology, the most effective skincare routines are ones people can actually follow consistently. The same principle applies here. A routine you’ll do three times a week beats a perfect routine you’ll abandon after day four.
Step 1: Choose the Right Time for Your Best Red Light Therapy Routine for Beginners
Timing matters more than most people realize. The best red light therapy routine for beginners fits naturally into your existing schedule rather than demanding you create entirely new habits. Most women find success with either a morning routine before applying skincare or an evening routine after cleansing.
Evening sessions tend to work well for beginners because you’re already winding down. You’ve washed your face, you have a few minutes before bed, and the warm glow of the light can actually feel relaxing. Some women treat it as part of their wind-down ritual, almost meditative in its simplicity.
Morning sessions work beautifully if you’re someone who likes to start your day with intention. A quick session before your skincare routine can feel energizing, and many users report that their morning products seem to absorb better afterward. If you’re looking for ways to maximize a limited morning, you might also enjoy reading about the 10 minute skincare routine for busy women that actually works.
Pick one time and stick with it for at least two weeks before considering any changes. Consistency builds habits, and habits build results.
Step 2: Prepare Your Skin Properly Before Each Session
What you do before your red light therapy session directly impacts how effective it will be. The good news is that preparation is straightforward. You want clean, bare skin with nothing blocking the light from reaching your skin cells.
Start by washing your face with your regular cleanser. Remove all makeup, sunscreen, and any products that might be on your skin. Even a thin layer of moisturizer can potentially interfere with light absorption. Some skincare ingredients, particularly those that make your skin more sensitive to light, should be applied after your session rather than before.
Here’s what to remove before your session:
- All makeup, including powder and mineral products
- Sunscreen and SPF-containing moisturizers
- Heavy creams, oils, and serums
- Any product with reflective or shimmery particles
Pat your skin dry gently. You don’t need to wait long after cleansing. Just make sure your face isn’t dripping wet, as water droplets on your skin could scatter the light unevenly. Cleveland Clinic notes that clean skin allows for better product penetration, and the same logic applies to light penetration.
Step 3: Position Your Device Correctly for the Best Red Light Therapy Routine for Beginners
Getting the distance right is one of the most common questions beginners have, and it’s an important one. Position your device too far away, and you might not get the full benefits. Too close, and while not dangerous, you might be wasting time that could be spent more effectively.
Most manufacturers recommend positioning your face about 6 to 12 inches from the light source. Check your specific device’s instructions, as recommendations can vary based on the power output. If your device came with a stand or holder, use it. Holding a device steady for several minutes gets tiring quickly, and tired arms lead to inconsistent positioning.
Close your eyes during facial sessions. Most devices emit light that’s safe for eyes when closed, but squinting into bright light for minutes at a time isn’t comfortable or necessary. Some people prefer to use the included goggles or a sleep mask for extra comfort.
The goal is relaxation, not endurance. If you’re struggling to maintain position or feeling uncomfortable, adjust until you find what works. At Gloressa, we believe that any practice worth doing should feel sustainable, not like a chore you’re forcing yourself through.
Step 4: Start with Shorter Sessions and Build Gradually
Here’s where many enthusiastic beginners go wrong. They read about experienced users doing 20-minute sessions and assume more time equals better results. But the best red light therapy routine for beginners actually starts much shorter.
Begin with 5-minute sessions for your first week. Yes, just five minutes. This allows your skin to acclimate and lets you establish the habit without feeling overwhelmed. During week two, you can increase to 8 minutes. By week three, most beginners feel comfortable with 10-minute sessions, which is often a sweet spot for ongoing use.
Some devices have built-in timers, which makes this easy. If yours doesn’t, set a timer on your phone before you begin. It’s tempting to just guess, but accurate timing helps you track what’s working for your skin.
How often should you use red light therapy as a beginner? Start with three to four sessions per week. This gives your skin rest days while still maintaining consistency. After a month of regular practice, you can consider increasing to daily use if it fits your lifestyle. For more ideas on creating relaxing at-home rituals, check out 7 steps to an at-home spa routine for glowing skin you can do tonight.
Step 5: Follow Up with Your Regular Skincare Routine
What happens after your session matters just as much as the session itself. Many women find that their skin absorbs products more readily after red light therapy, making this an ideal time to apply your favorite serums and moisturizers.
Immediately after your session, apply your skincare products in order from thinnest to thickest consistency. If you use active ingredients like vitamin C or hyaluronic acid, now is a great time to apply them. Your skin is clean, slightly warmed, and receptive.
Avoid applying anything with strong fragrances or potential irritants right before your session, but afterward, your full routine is fair game. Many users report that their evening moisturizer feels more hydrating when applied post-session. According to Healthline, layering products correctly maximizes their effectiveness, and red light therapy can be a helpful part of that layering strategy.
Keep notes during your first month. Nothing fancy, just a quick mention of what you applied afterward and how your skin felt the next morning. These notes help you identify what combinations work best for you.
Creating Your Best Red Light Therapy Routine for Beginners Schedule
Let’s put everything together into a simple weekly schedule you can follow starting tonight. Remember, this is a starting point. Adjust based on your lifestyle and how your skin responds.
A sample beginner schedule might look like this: Monday, Wednesday, and Friday evenings, 5 minutes per session during week one. Or Tuesday, Thursday, Saturday, and Sunday mornings if that fits better. The specific days matter less than choosing a pattern you can realistically maintain.
Track your sessions somehow. A simple checkbox on a calendar works perfectly. Apps designed for habit tracking can also help if you prefer digital solutions. Seeing your consistency visually is surprisingly motivating and helps you notice if you start slipping.
Give yourself grace during busy weeks. Missing one session won’t undo your progress. But if you notice yourself skipping frequently, consider whether your chosen time actually works for your life. Sometimes moving from evening to morning, or vice versa, makes all the difference.
Visit Gloressa for more skincare guidance and explore our story to learn more about what we believe. And if you’re looking for more routines and tips, the Gloressa blog is full of practical ideas you can use today.
Frequently Asked Questions About Best Red Light Therapy Routine For Beginners
What is the best red light therapy routine for beginners who have sensitive skin?
Start with even shorter sessions, around 3 minutes, and watch how your skin responds over the first week. Sensitive skin usually tolerates red light therapy well, but beginning cautiously allows you to build confidence. Increase your time slowly and always follow with a gentle, fragrance-free moisturizer.
How long before I see results from the best red light therapy routine for beginners?
Most people notice subtle changes in skin texture and radiance after 4 to 6 weeks of consistent use. Some report improvements sooner, while others need 8 weeks or more. Patience and consistency are your best tools here.
Can I use red light therapy every day as a beginner?
Starting with every day use isn’t recommended because your skin benefits from adjustment time. Begin with 3 to 4 sessions weekly, then gradually increase after a month if desired. Daily use can work well once you’ve established your tolerance and routine.
Should I wear eye protection during red light therapy sessions?
Closing your eyes is usually sufficient for facial sessions with most home devices. However, if your device came with goggles or eye shields, use them for added comfort and protection. Never stare directly into the light with open eyes.
What time of day works best for a red light therapy skincare routine?
Either morning or evening can work well. Choose based on when you’re most likely to stay consistent. Evening sessions pair nicely with a wind-down routine, while morning sessions can fit before your regular skincare and makeup application.
Your Journey Starts Tonight
Building the best red light therapy routine for beginners doesn’t require perfection or expensive equipment. It requires showing up consistently, starting small, and paying attention to what your skin tells you. Tonight, you can cleanse your face, sit in front of your device for just five minutes, and take the first step.
Remember that every experienced user started exactly where you are now. They had questions, felt unsure about timing and distance, and wondered if they were doing it right. With each session, you’ll feel more confident and more connected to this simple practice. Trust the process, be patient with yourself, and enjoy the quiet moments of self-care that red light therapy brings into your routine.
Your glow ritual, guided
Get the free 10-Minute Glow Guide
A simple, printable routine you will actually keep — the exact steps to build a calm, effective skincare ritual in ten minutes a day. No 10-step overwhelm, no confusing ingredient lists. Just the essentials that work.